Fundamentals of Bending (BND) Tests
Many common forms of material testing utilize variants of tensile loading, whether Uniaxial Tension (UT), Plane Strain Tension (PST), or balanced biaxial tension (BBT). There are many reasons why tensile testing is popular, but other loading types can also yield useful results. The most common of these is bending. This article will give a brief overview of bending testing, including theory, equipment, methods, results, and testing standards.
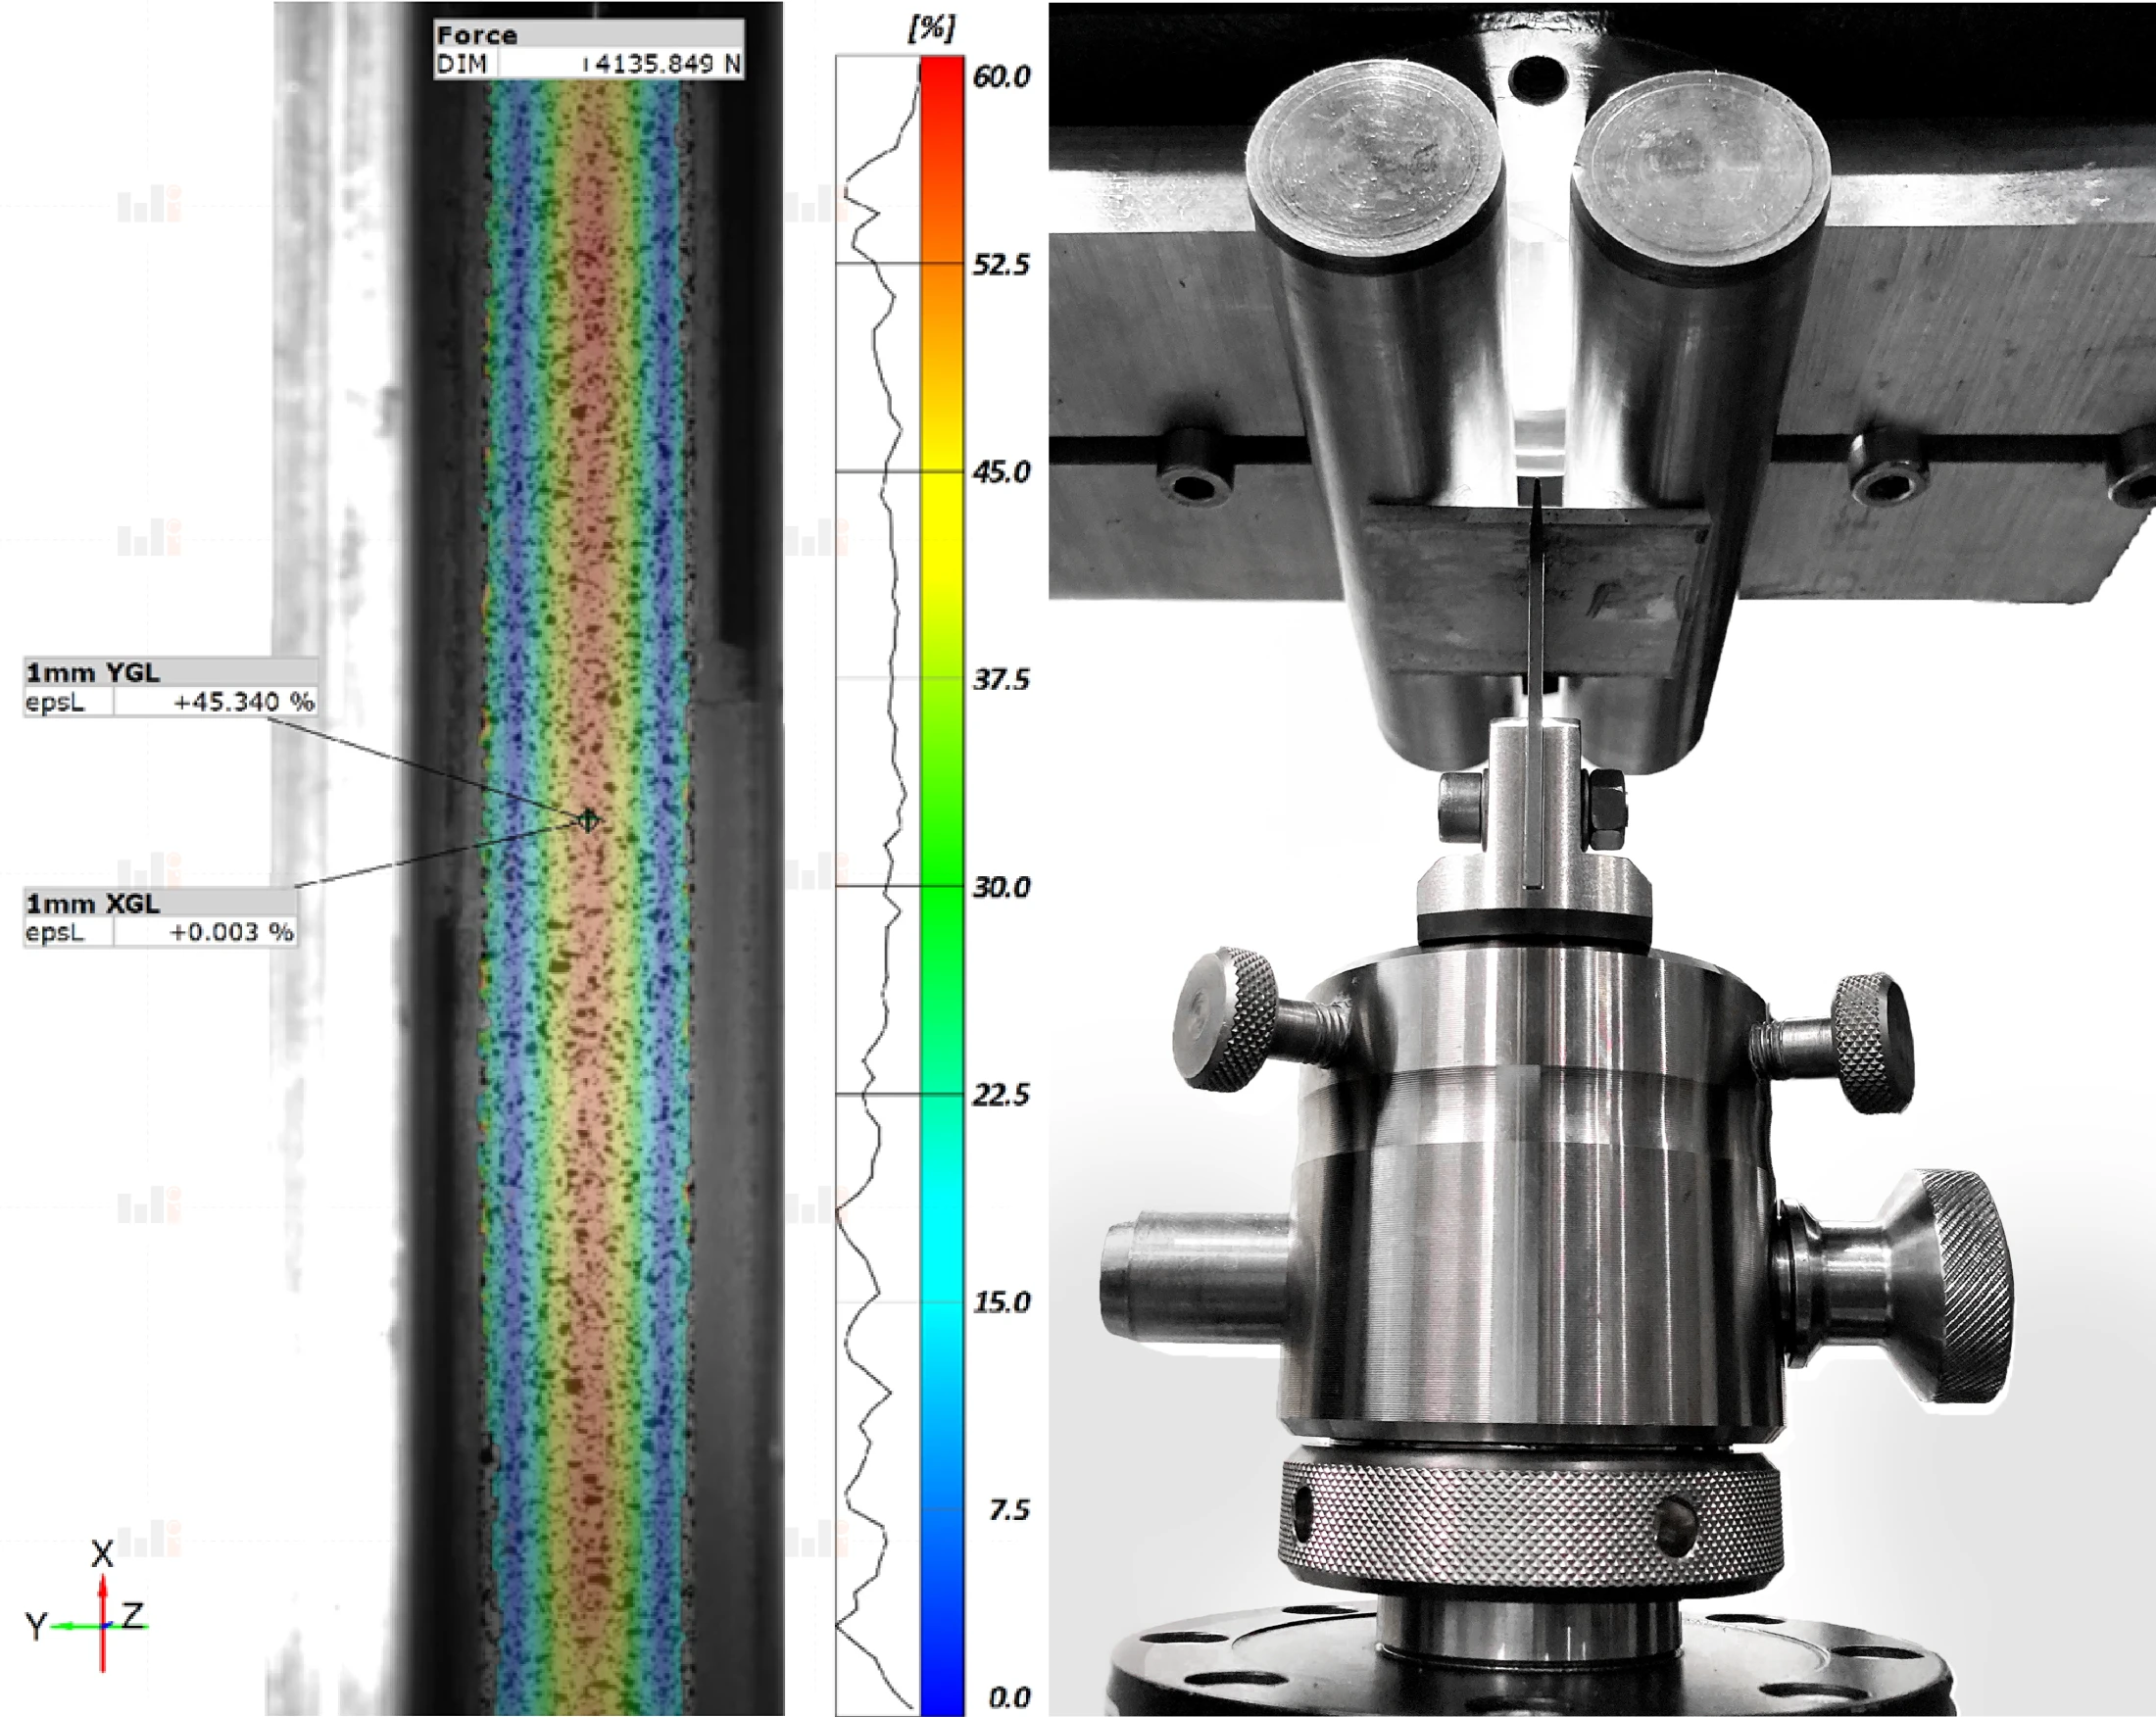
 Bending Test
Relevance: Why Bending Test?
Like tension, bending is a common stress in real-life applications. Many forms of bending are caused by heavy objects resting on long horizontal structures. Bridges, diving boards, and building floor supports are all examples of structures that regularly take bending loads due to gravity.
Levers are another tool commonly subjected to bending. Everyday tools such as wrenches and pliers fall under this category. But even outside the structural domain, bending is a viable loading case for sheet metals in applications like the automotive sector. Because bending loads are so ubiquitous, it is often important to know the bending properties of materials used in engineering design.
Bending Test Equipment
In theory, bending testing could utilize a wide variety of procedures. However, this form of testing has been heavily standardized in order to produce more consistent and repeatable results.
The two most common forms of bending testing are three-point bending and four-point bending, which refers to the number of load application points along the test piece.
Conveniently, bending tests can often be performed using the same universal test machines (UTM) as are used for uniaxial tension testing. These machines are compatible with different test fixtures, some of which have been specially designed for bending tests. UTM bending fixtures typically consist of wedges used to press into the material sample at the load application points. The wedge(s) attached to the moving part of the machine are also called the bending punch.
With the bending fixtures installed, the UTM is set for compression, allowing the upper and lower parts of the testing apparatus to push on the material sample in opposite directions. This creates the desired bending loads. For each bending test, a small pre-load is applied to the bending sample in order to fix the sample in place before the test begins.
Failure conditions for bending testing are somewhat different than for tensile tests. This is because most common testing materials do not fracture under bending conditions caused by standard bending test procedures. Instead, bending tests are considered complete either when bending forces begin to drop or when further bending is impossible with the testing setup. The second condition manifests when a material is so ductile that it can fold back on itself without issue; in this situation, the bending setup cannot deform the material any further.
Like any material test, bending testing relies on sensors for useful results. The most important sensor for bending testing is the load cell. Load cells record the bending forces at work during the test, and they tell the testing machine when to end the test (i.e., the load drop).
Unlike in tensile testing, strains are rarely measured for bending tests. This is due to the unusual non-linear motion associated with bending, which makes it difficult for strain gauges or extensometers to accurately measure strains.
However, digital image correlation (DIC) can be used for non-contact strain measurements. Recording strains with DIC can provide a more complete picture of material deformation in bending.
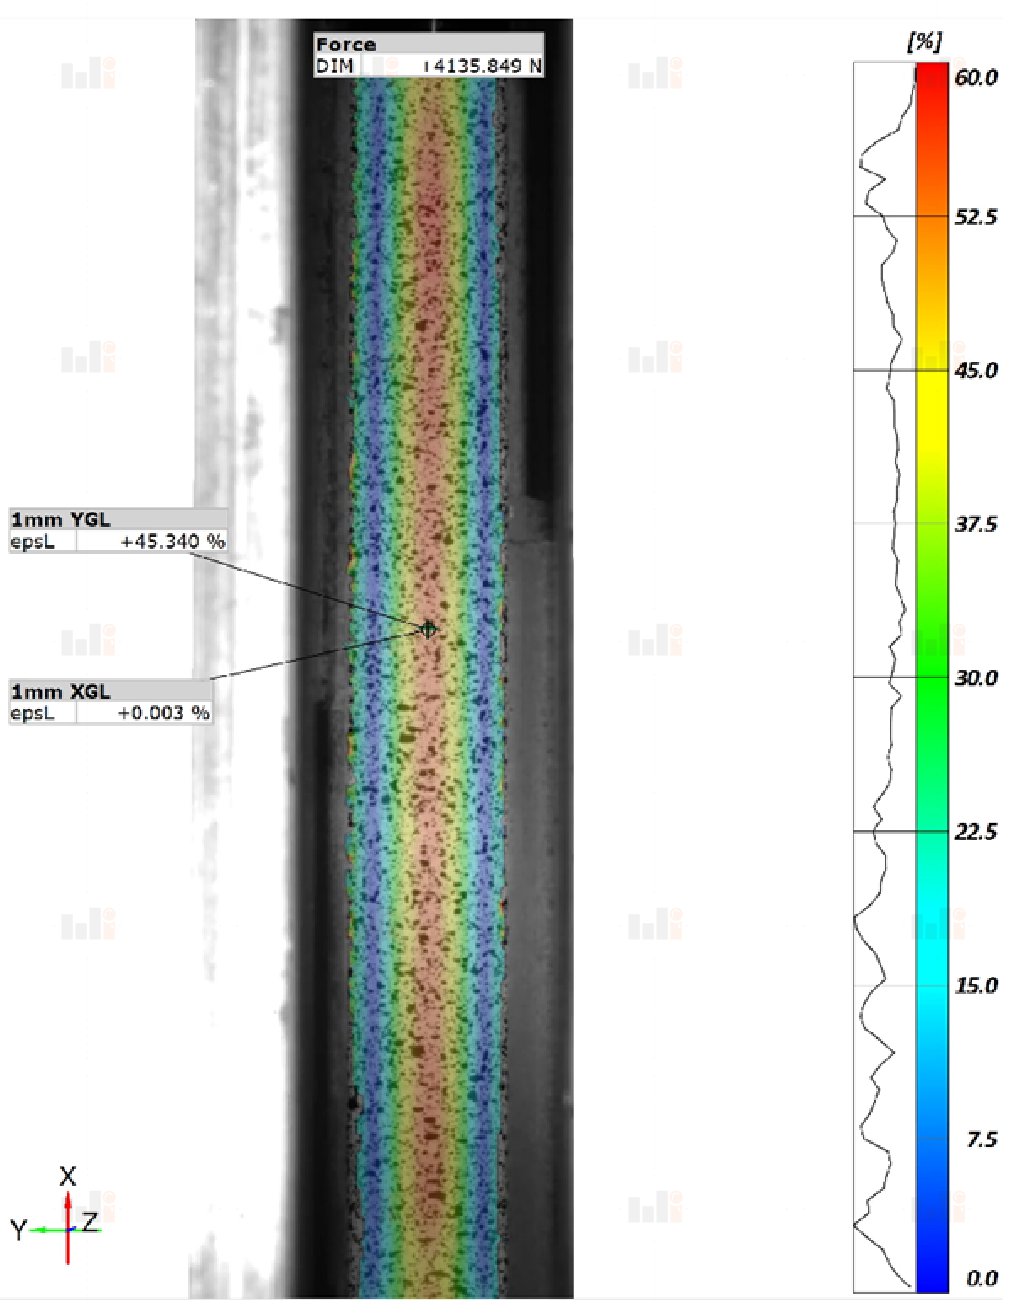
 DIC View-Bending Test
Bending Test Sample Geometry
Typically, bending tests use a very simple rectangular strip sample design. Rectangular test samples are easy to fabricate and have a constant cross-section, making it easier to control the loads and deformations applied to them. Strips must be made from thin sheets of metal to reduce the necessary bending loads.
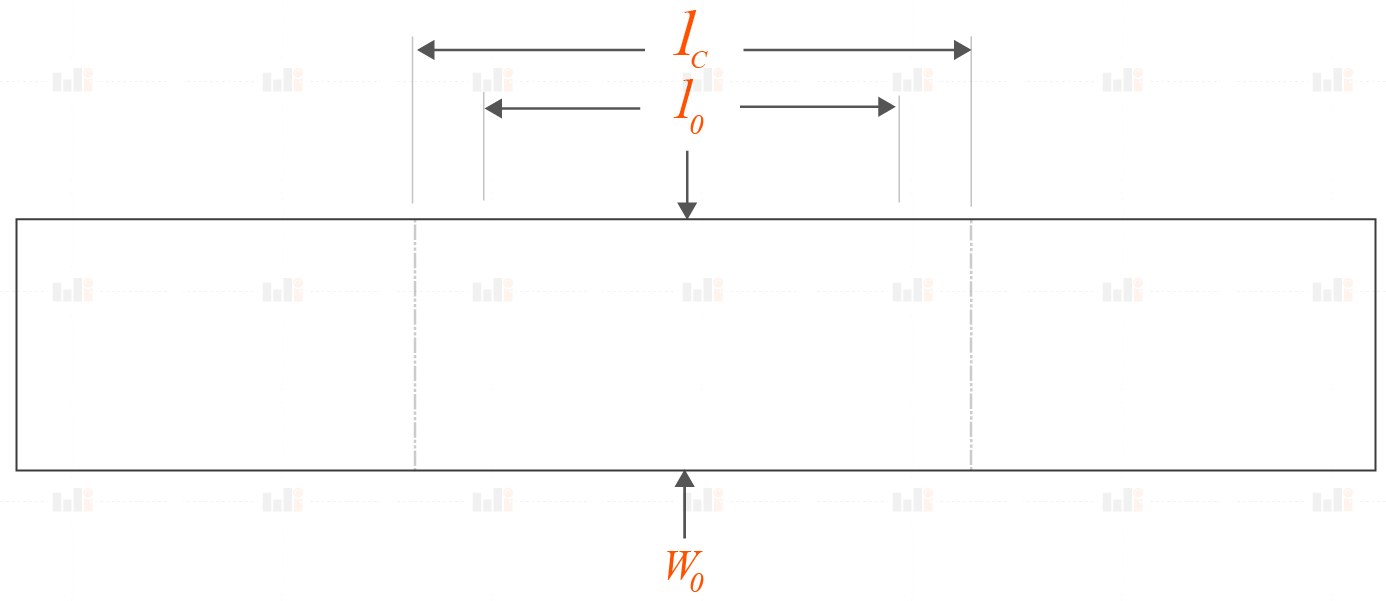
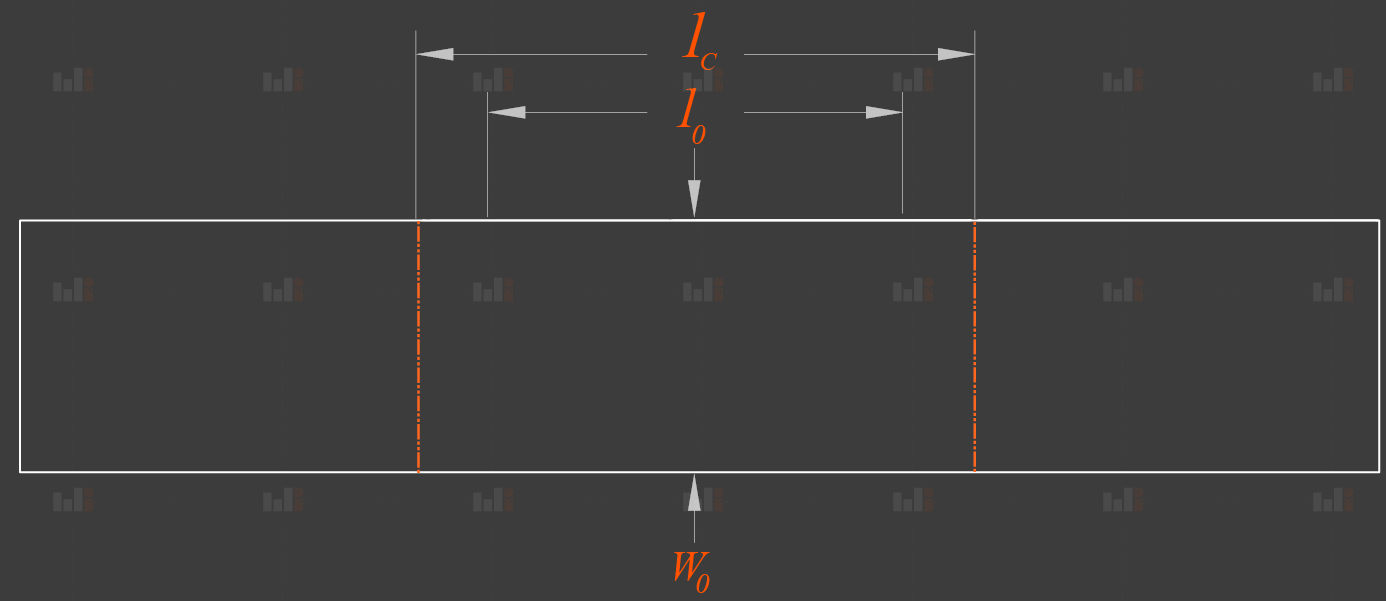 Sample Design-Bending Test
Bending Test Method
The video below shows the method of VDA-238 Sheet Metal Bending Test.
Bending Test Results
The main result from a typical bending test is the load-displacement curve. This plots the bending force measured by the load cell against the displacement of the bending punch.
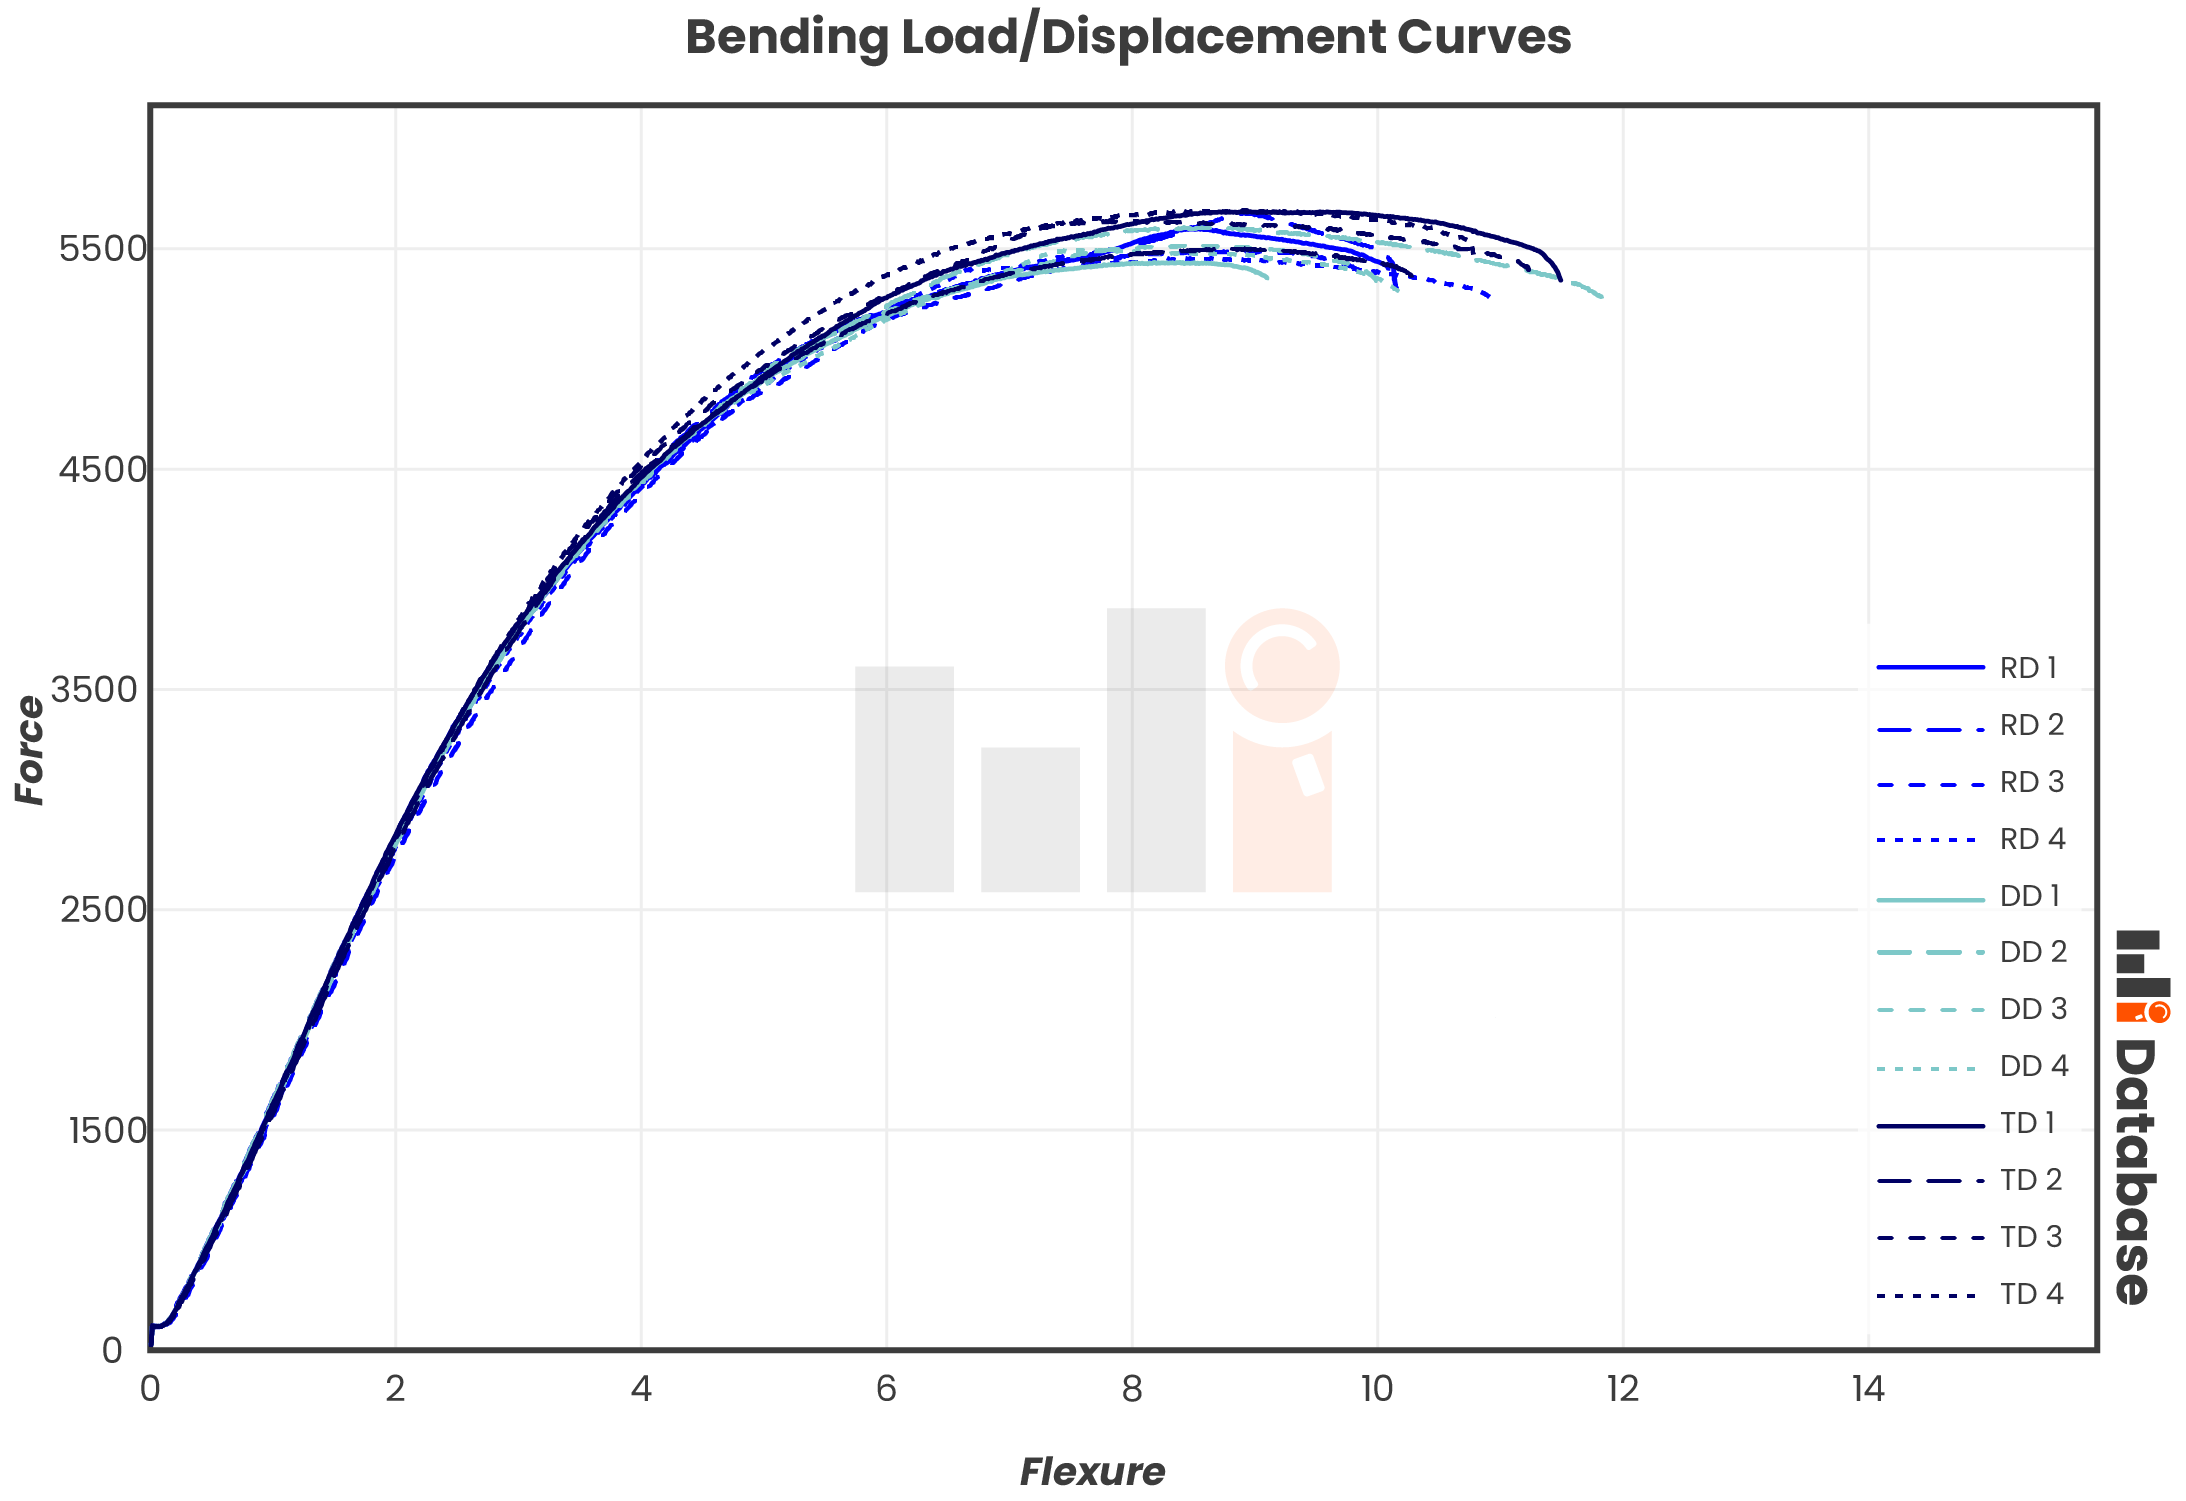
 Load Curves for the Bending Test
Another common result is the bending angle, which is simply the angle between the bent halves of the test piece when the test ends. This can serve as a simple measure of bending ductility.
Bending Test Standards
Bending testing is regulated by many standards, and some organizations provide different bending test standards for different classes of materials.
Bending standards for sheet metals include ISO 7438, ASTM E290, and VDA 238-100.
Standards for plastics include ISO 178, ASTM D790, and ASTM D6272.